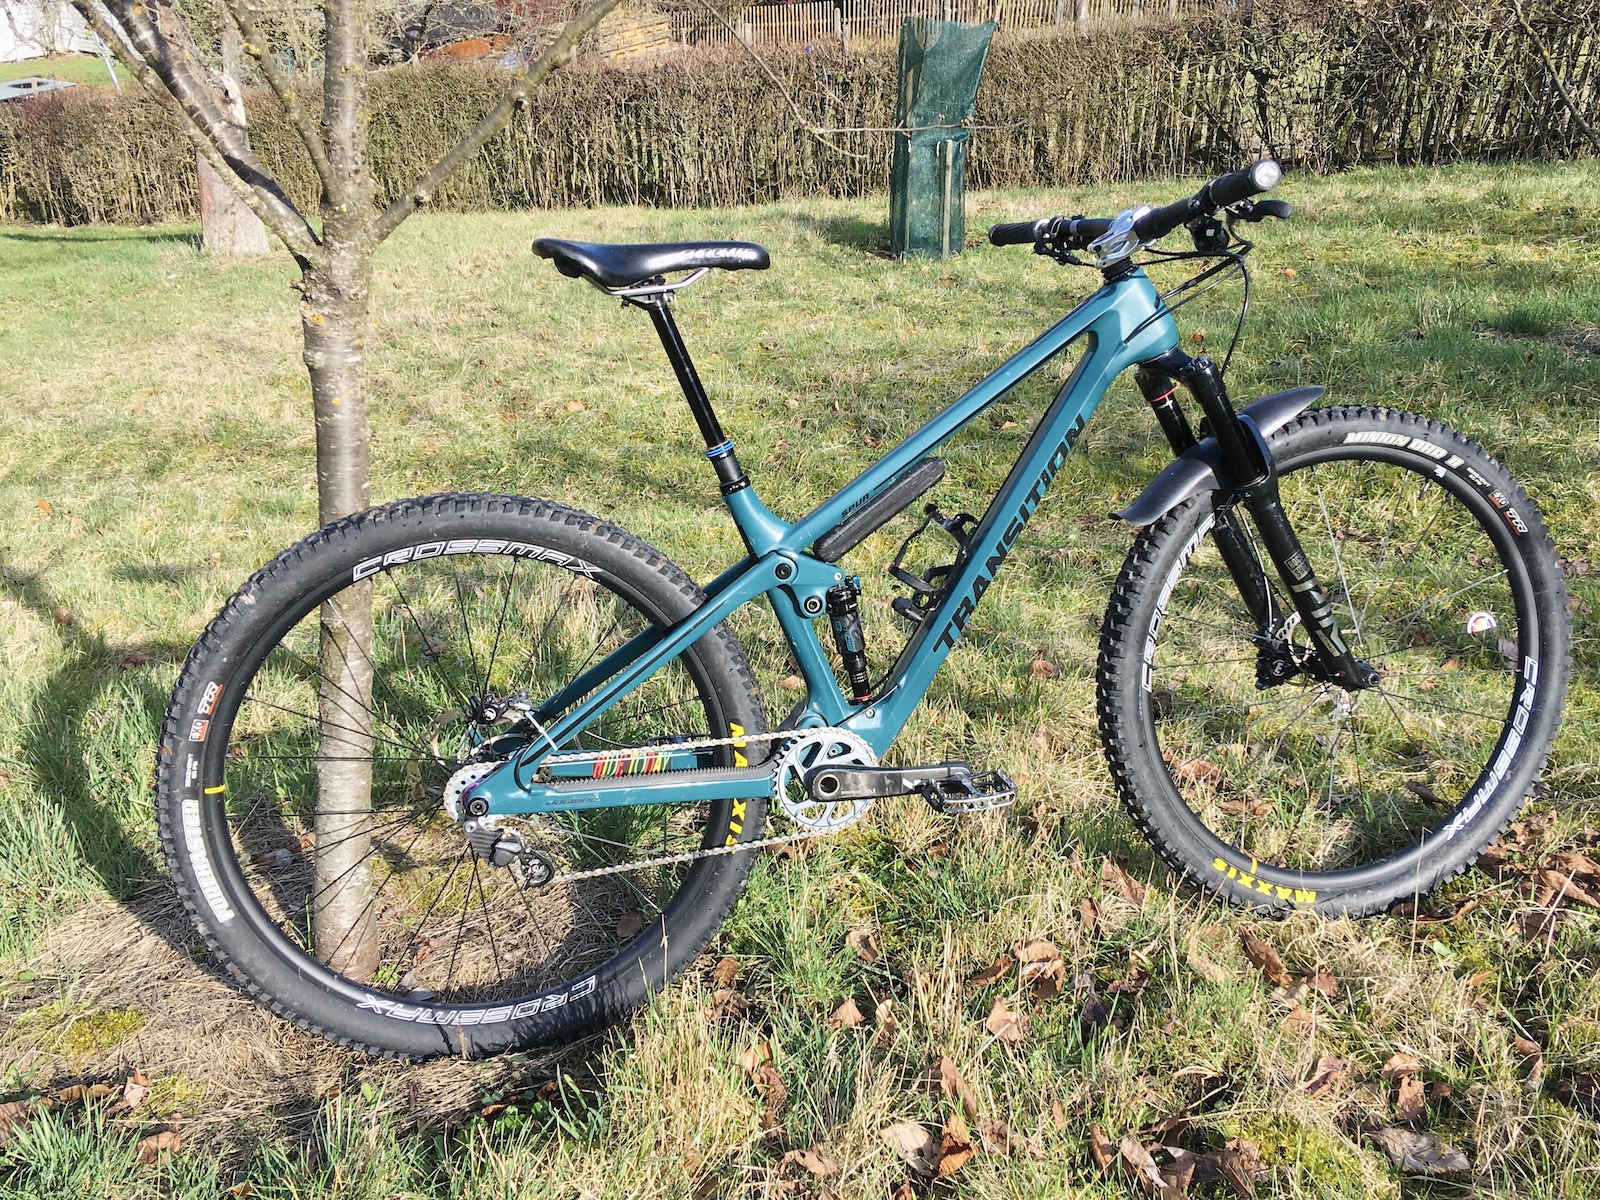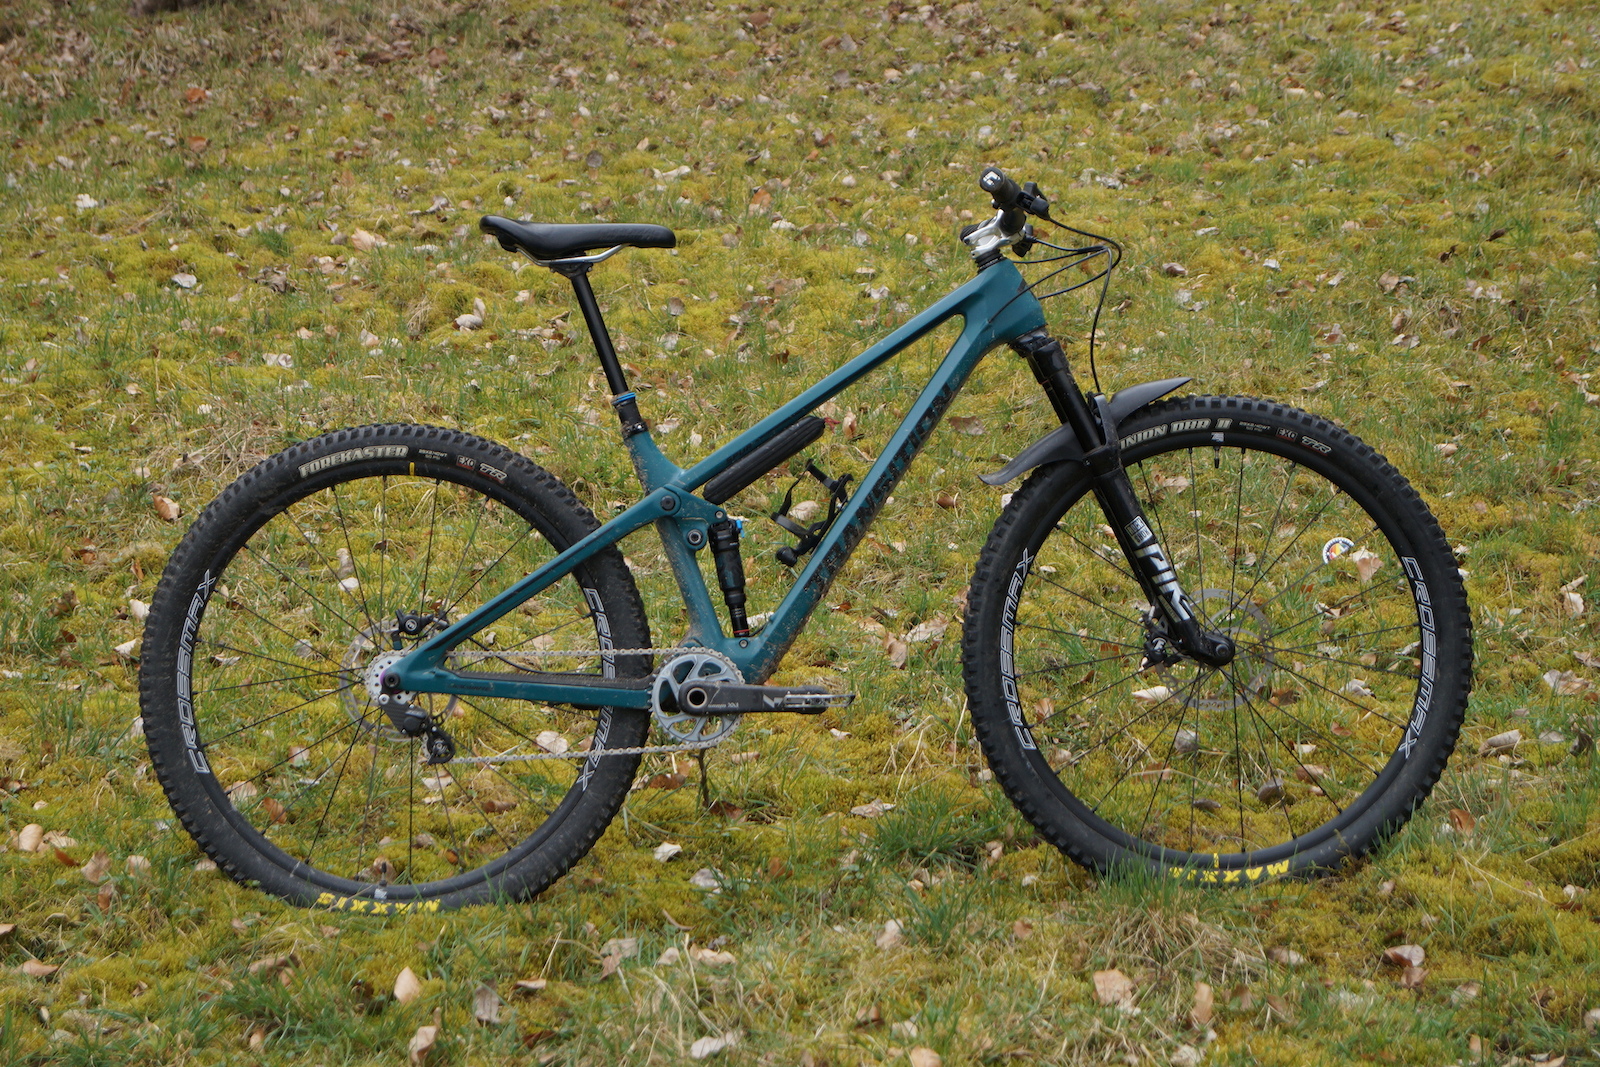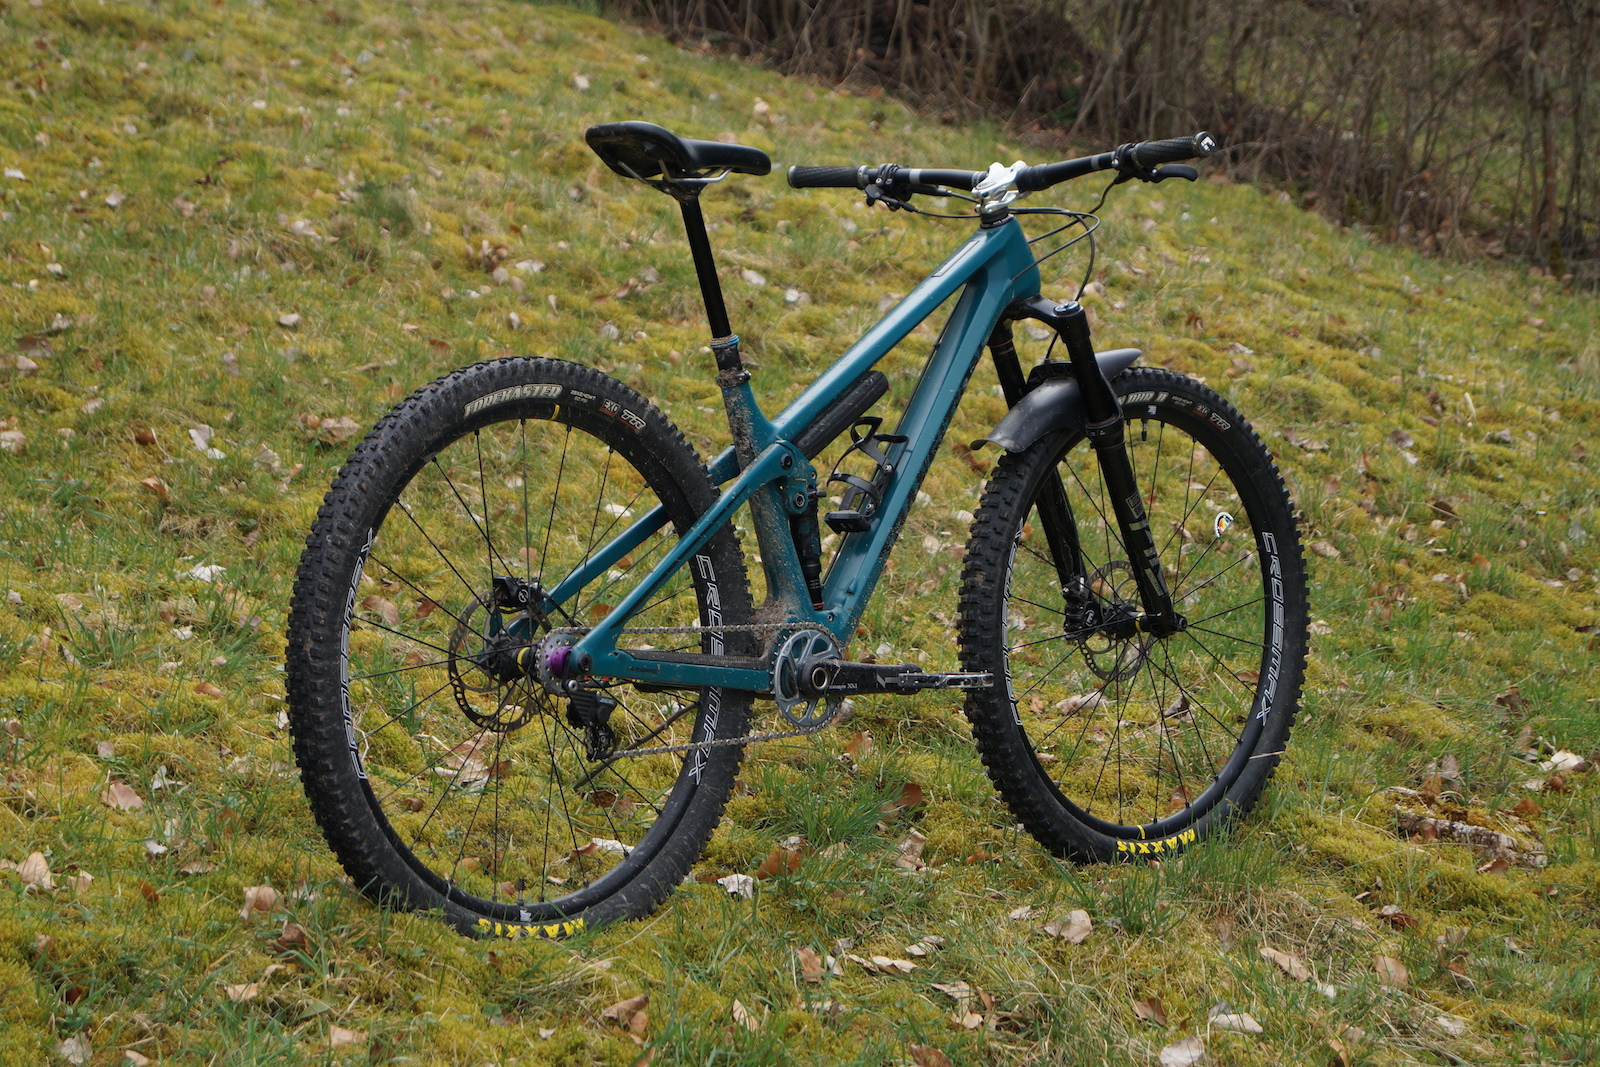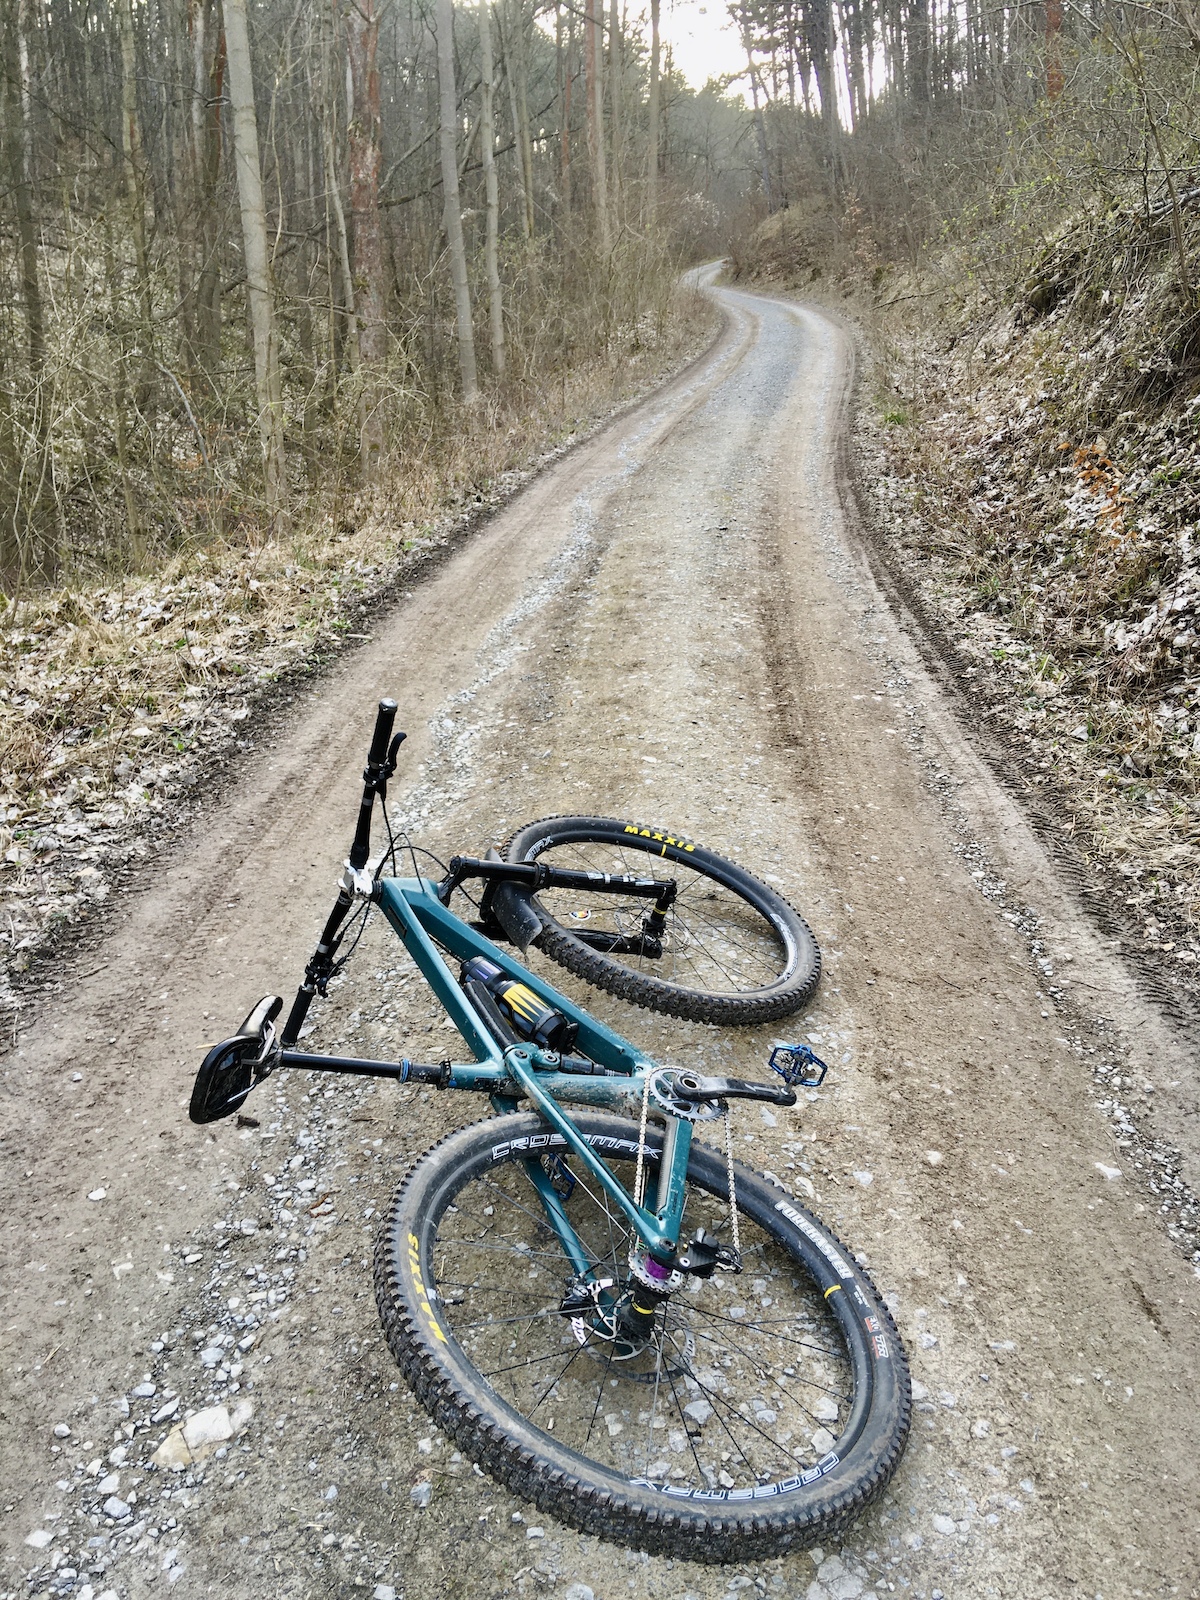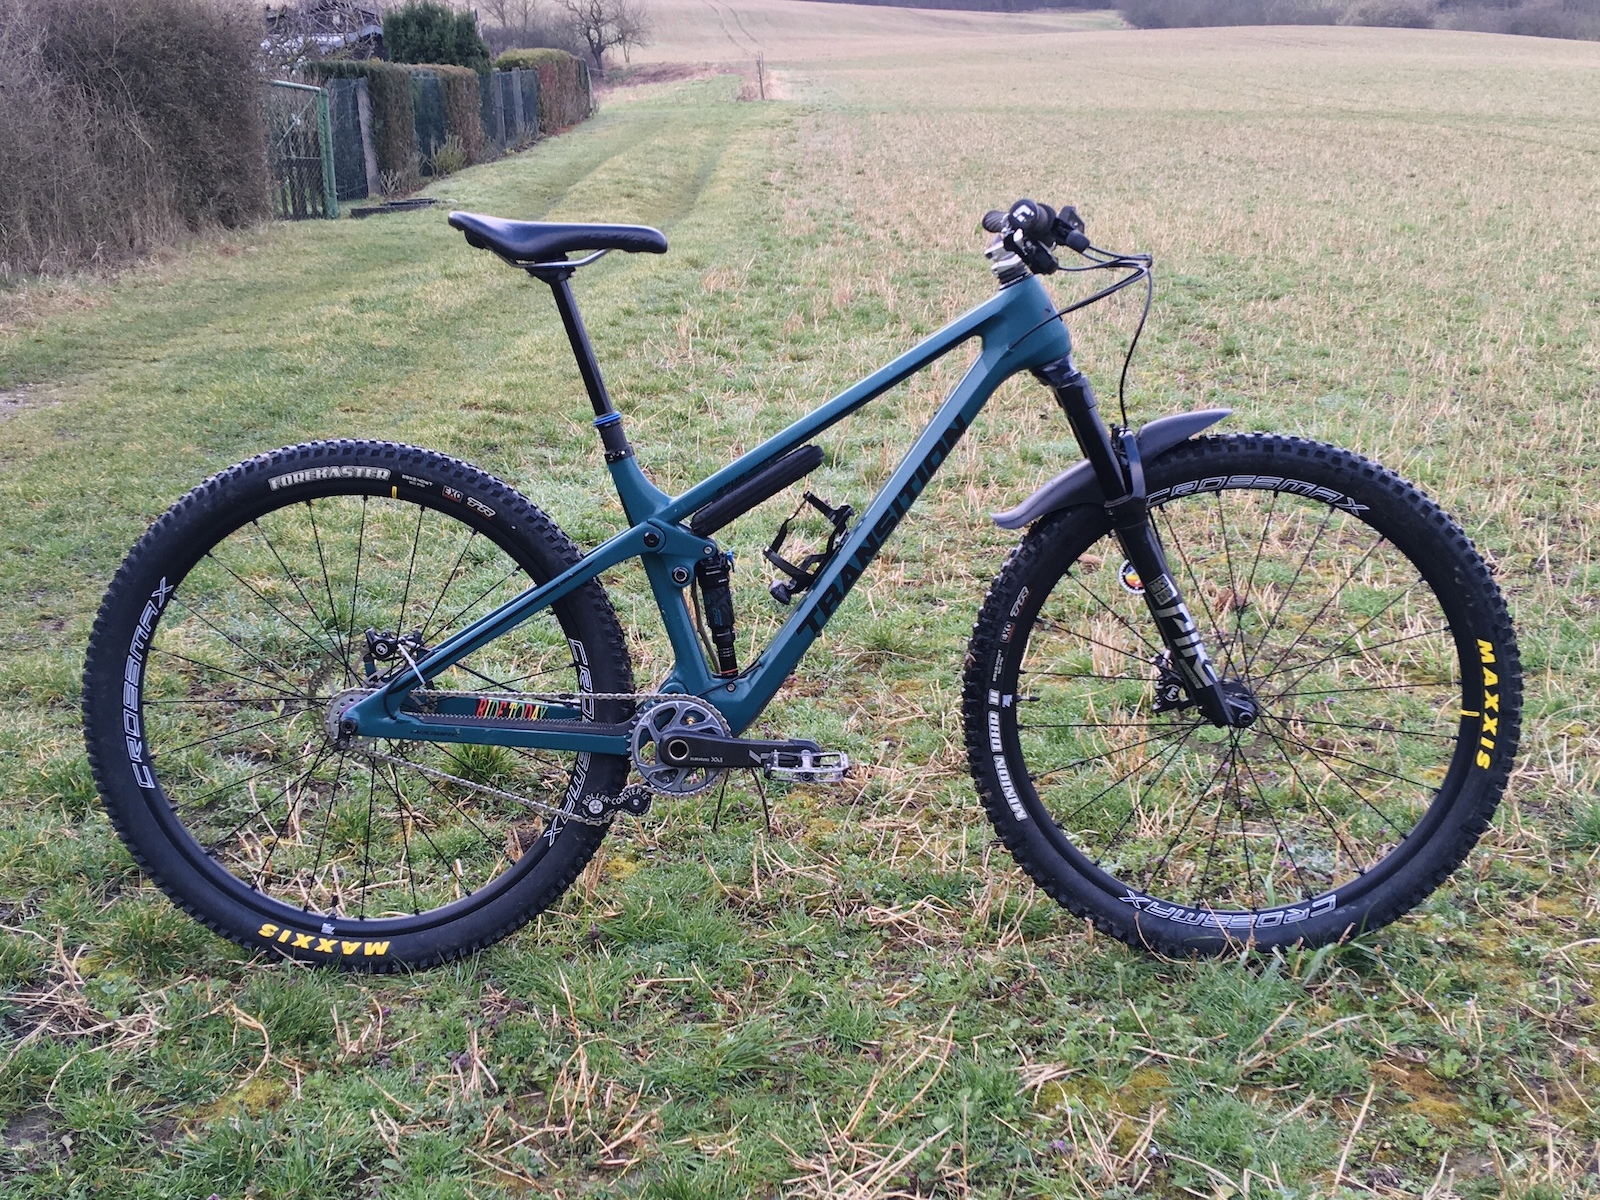
2020 Transition Spur

p6pb26289444.jpg


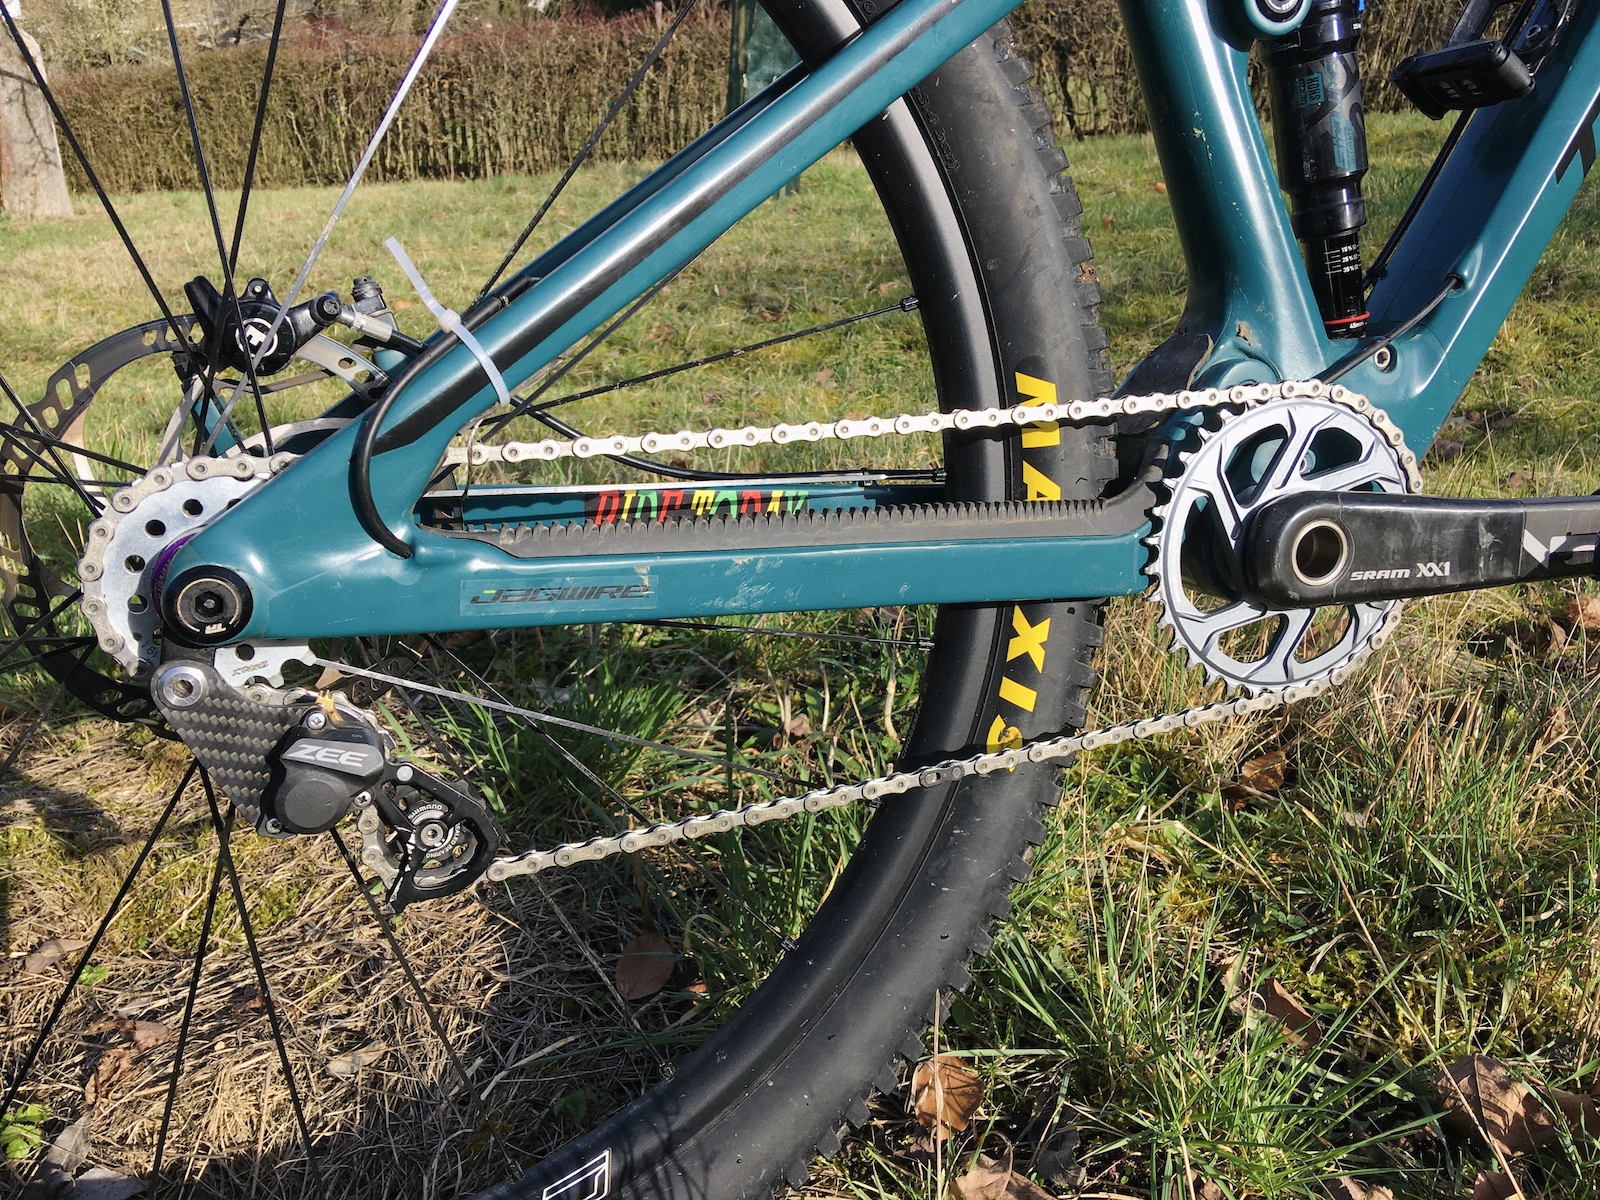
First ride proved that the Roox Roller-Coaster is not a chain tensioner. It's a chain guide.

I'd need it to move more than the spring could handle. It bent as soon as there was enough tension on the chain for it to not jump over the cog.
And this while the chain was not even long enough in order for the rear end to move through all of its travel.

Grafting a different spring onto it, one from a Paul Melvin, made no real difference and the setup extremely inconvenient.

This experiment failed.


But then I remembered I had a suitable tensioner on another bike. I had to kindly ask the in-laws for them to bring it with them when they came to visit in saturday.

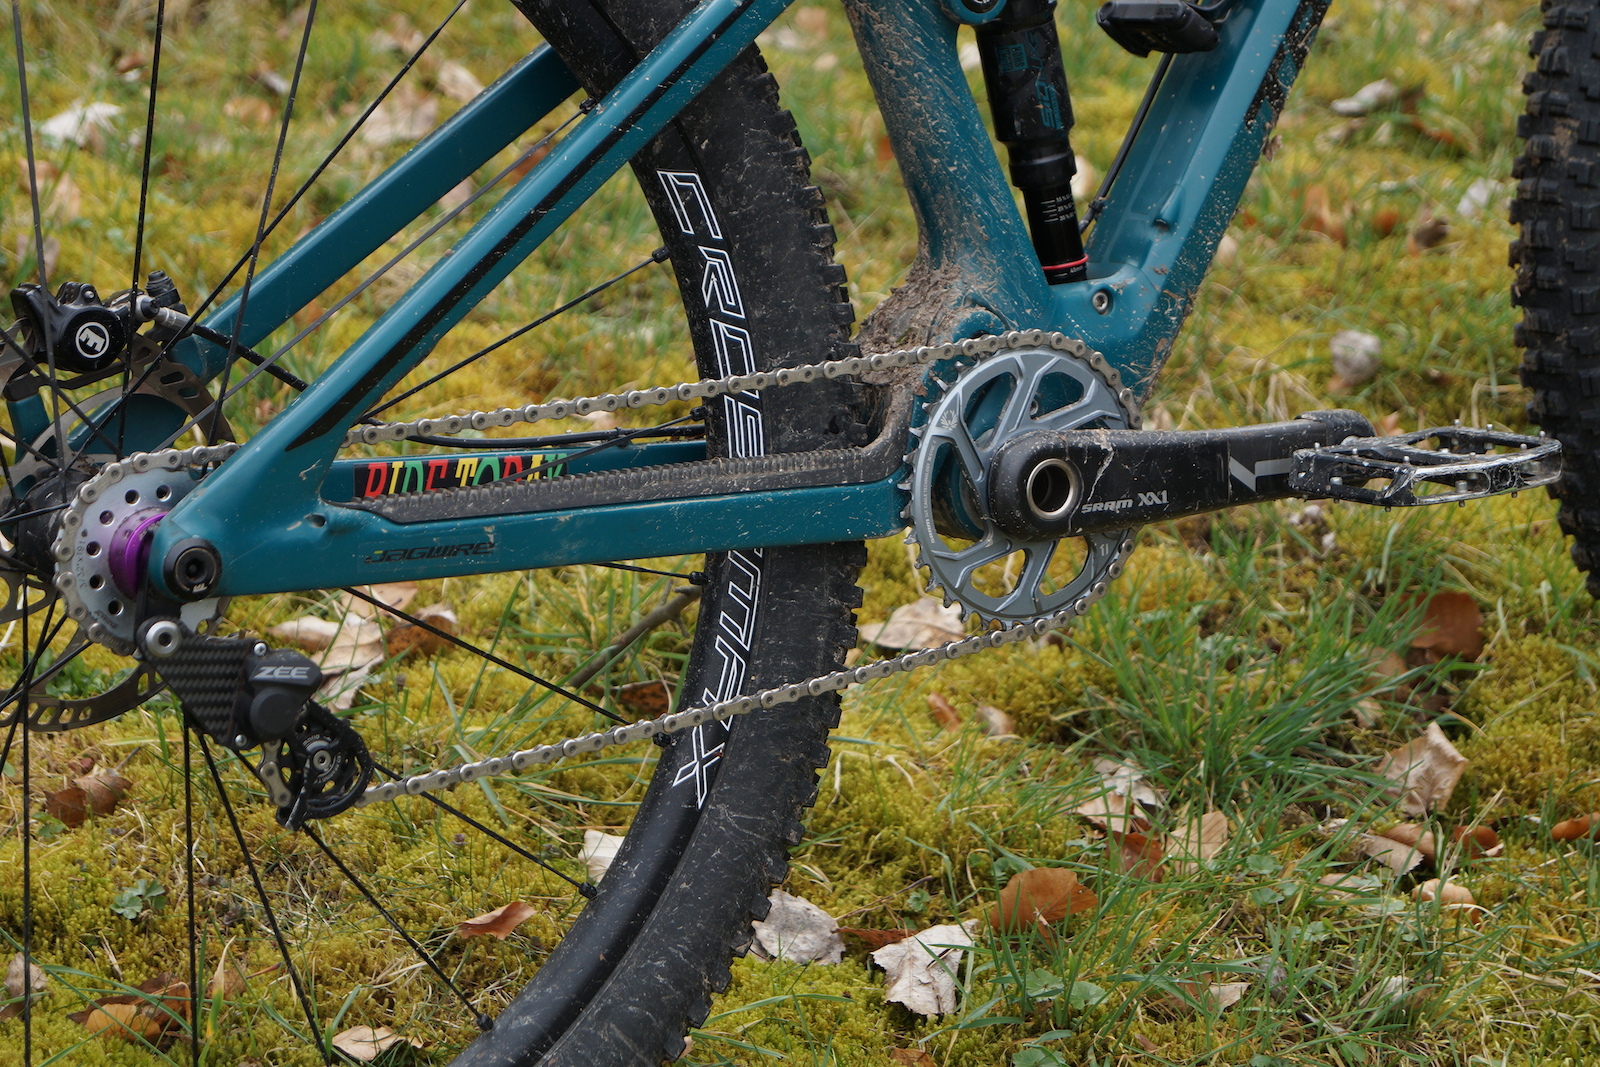
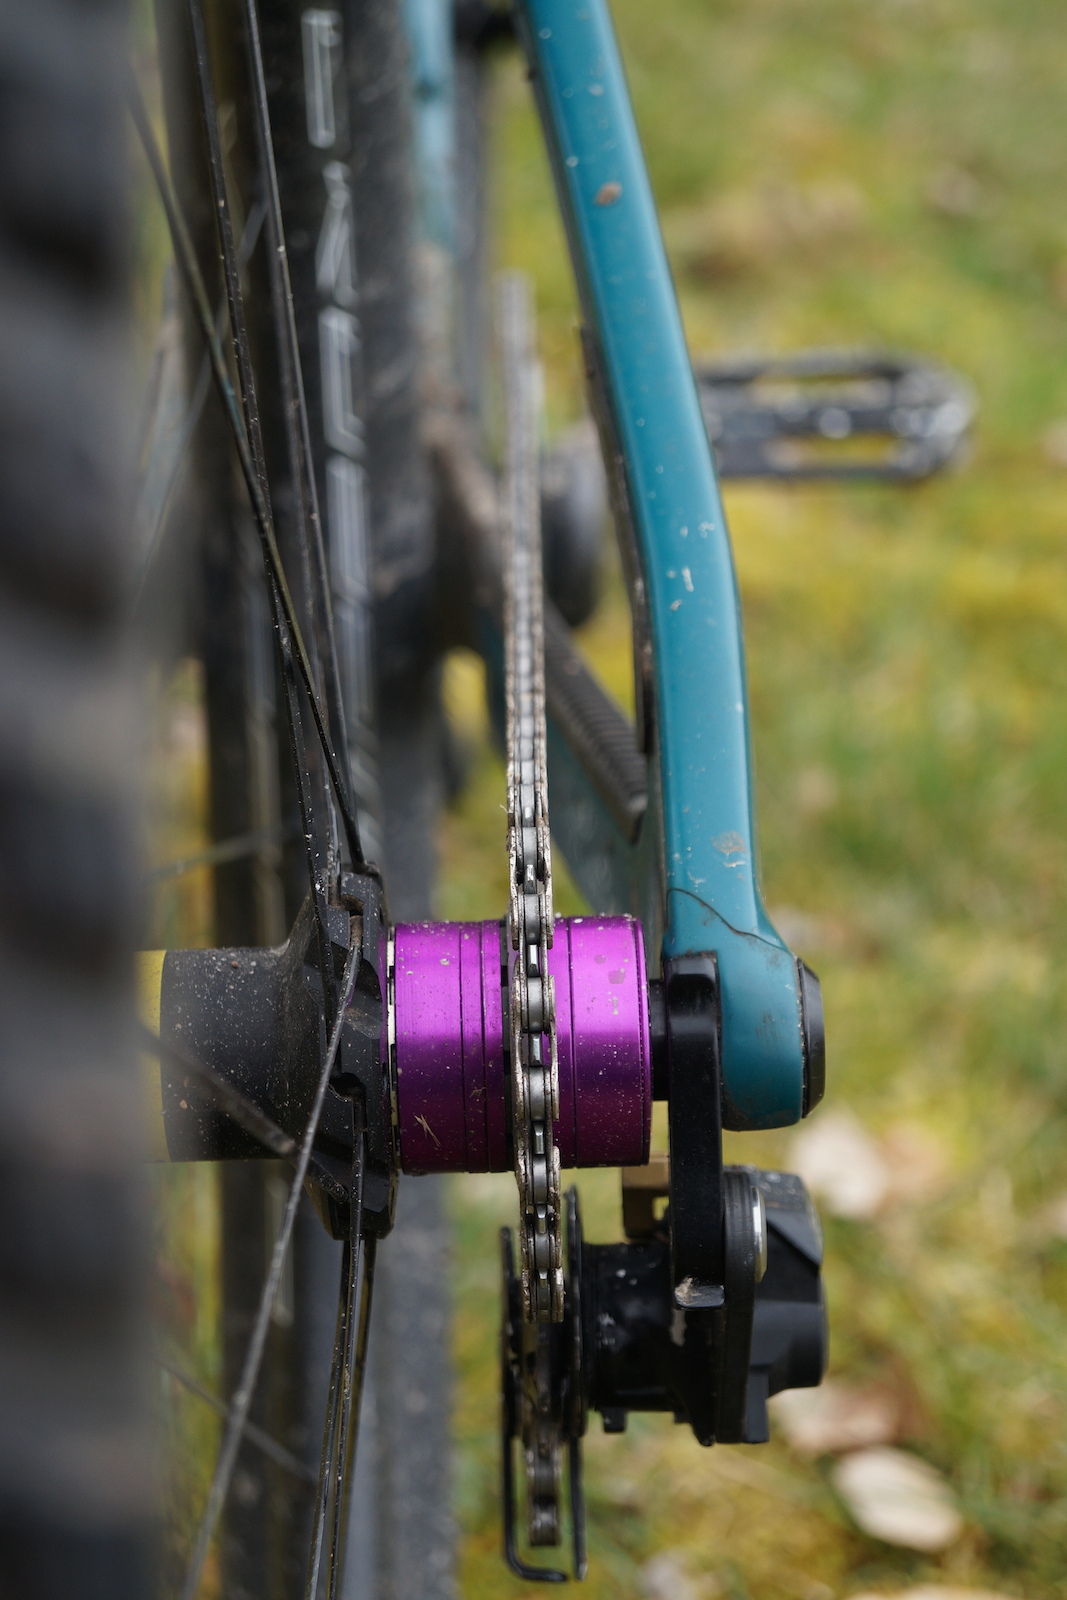
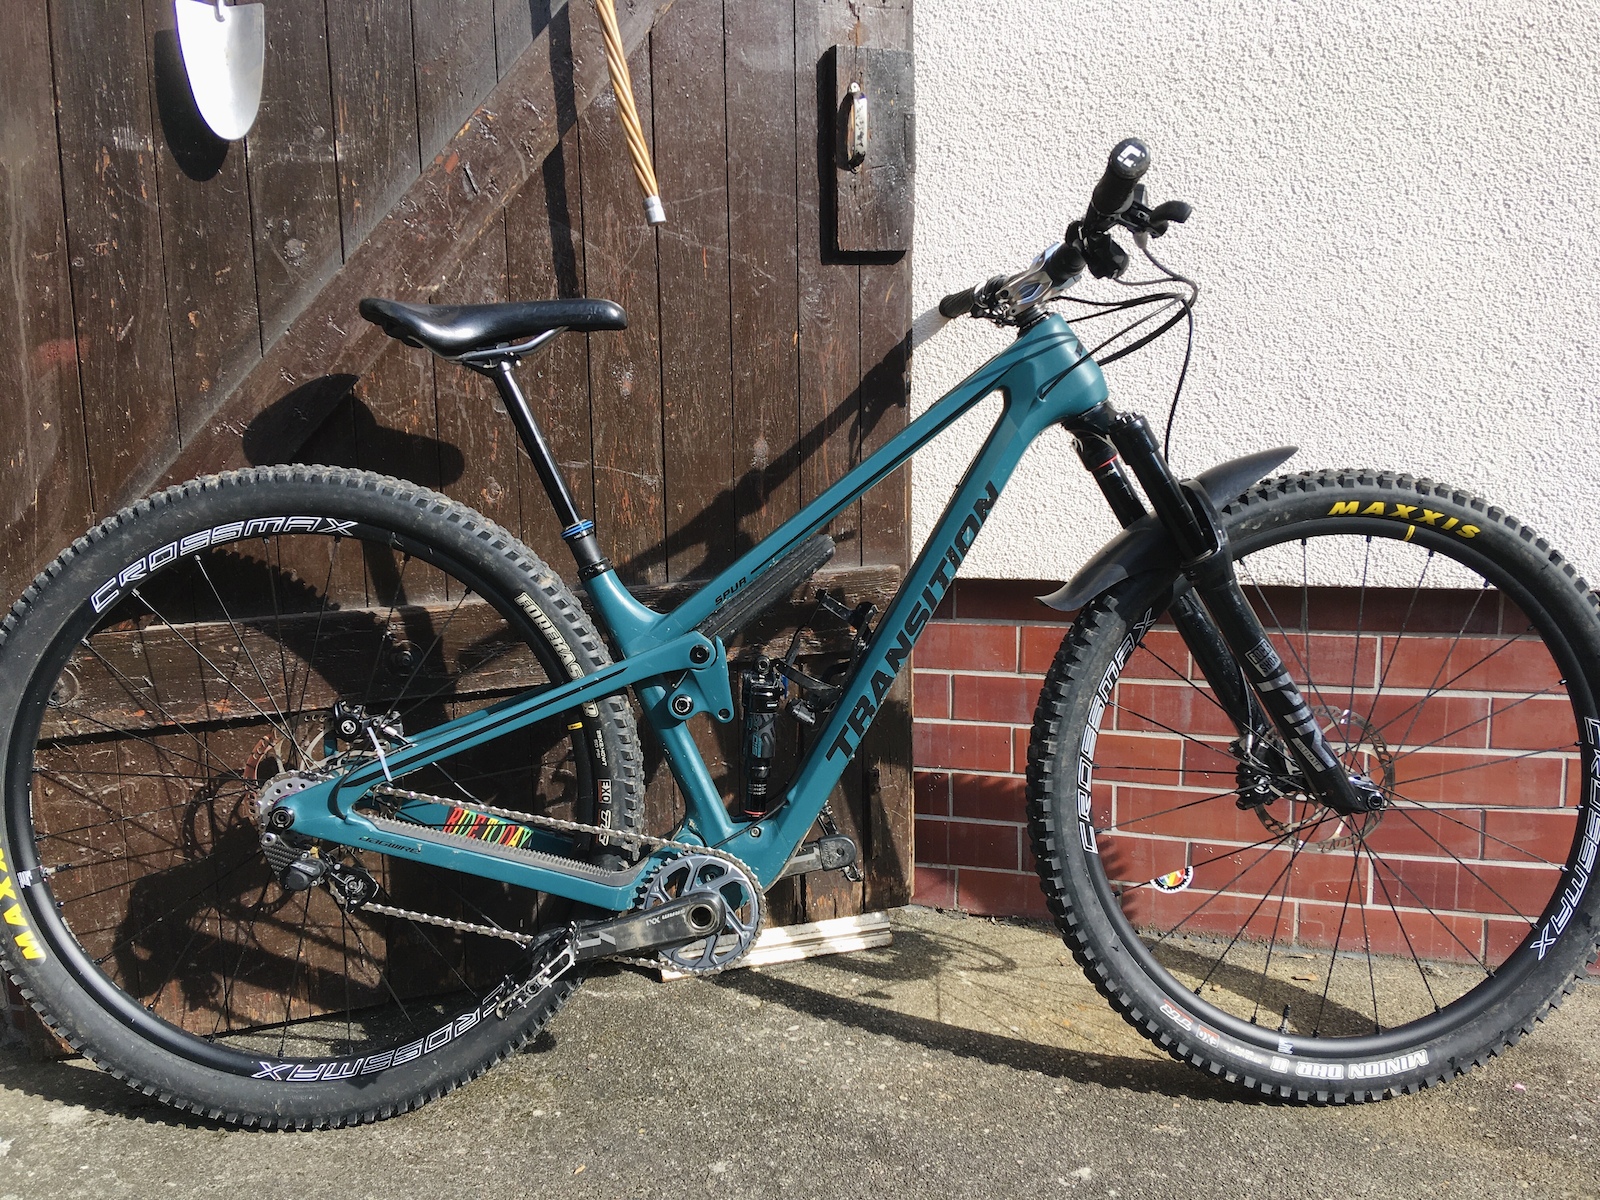
It's the cage off a 10s Shimano Zee rear mech mated to a carbon plate. Pretty simple, very effective. I got that one used a couple of years ago.

I added a chain link and checked chain length this time, though.
p6pb26297723.jpg


p6pb26297722.jpg


p6pb26297716.jpg
 
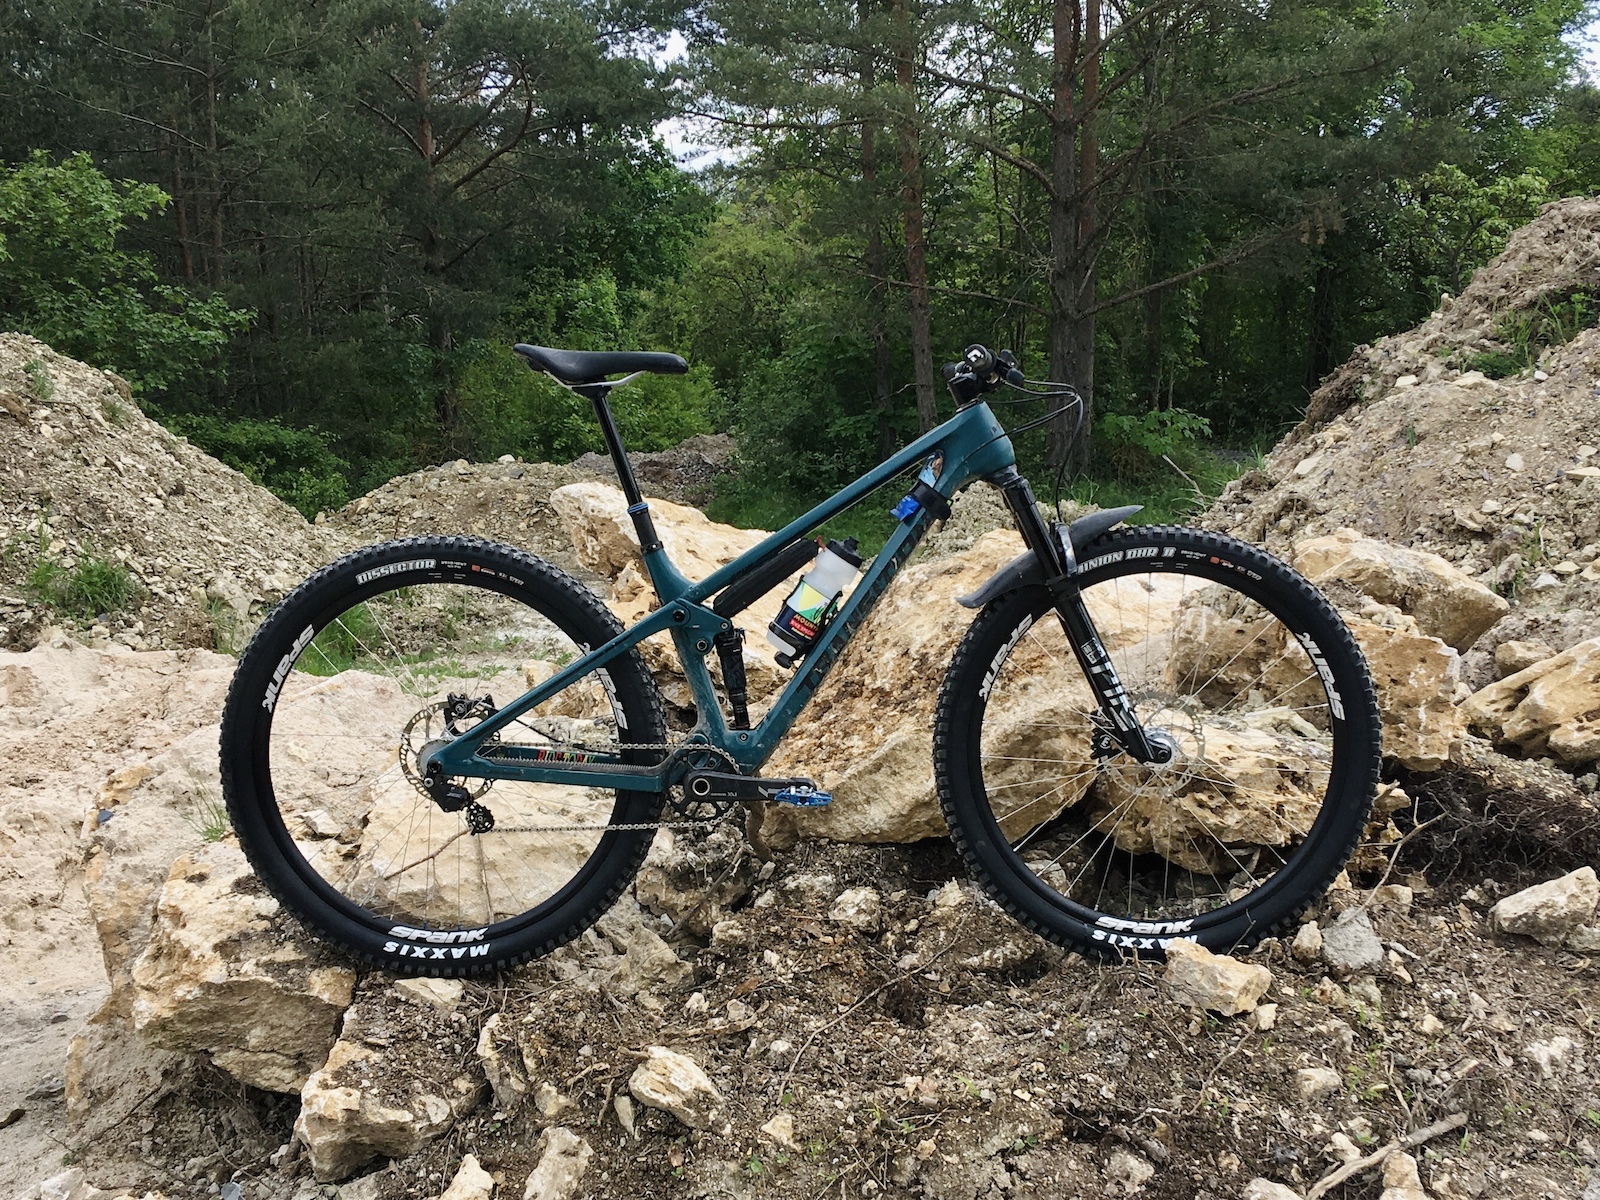
I recently changed a few things, notably the chainring. It's a 32t one now and greatly improves the perfomance of the rear end. While making for good efficiency on smooth climbs the 34t chainring made the back end feel somewhat wooden when pedaling on rough terrain.
Suspension is now more active, yet less affected by the chain.

Also I finally managed to get rid of the annoying creak caused by the 30.9mm seatpost and a shim in the supposedly 31.6mm seat tube.
The seat tube has 31.6mm internal diameter for the first few cm, but then gets wider, the deeper you get. Which caused the post to slop about and make lots of noise every time I weighted or unweighted the saddle.

The seatpost manufacturer recommended to wrap some adhesive tape around the bottom of the post to stop it from moving so much.

This worked somewhat but never quite long enough and made it hard to remove the post. The last round of tape got the post pretty well stuck when I tried to remove it last week.

The solution to this problem seems to have been to wrap adhesive aluminium tape round the bottom of the shim. Initially I used too much and the post would not go in. So I removed layer by layer until it just about went in without too much force.

This worked, so far. But I am optimistic.
 
p6pb26405661.jpg


p6pb26663917.jpg


p6pb26663915.jpg


p5pb26665762.jpg


p5pb26665767.jpg


p6pb26663939.jpg


I've ridden this bike quite a lot since April. And recently I felt obliged to perform a quick service of the fork and shock. Also the drive-side BB was shot. The whole bike felt wooden and unresponsive right before taking apart the shock elements and creaked pretty severely.

Now it's silky smooth, the fork feels better than ever before (it lacked lubrication right from the factory, but I had no idea) and it jumps like a young goat.

The seatpost decided to make some noise again after all, but I'll deal with that some time later this year. Now that I know why it's creaking, it's easier to ignore.

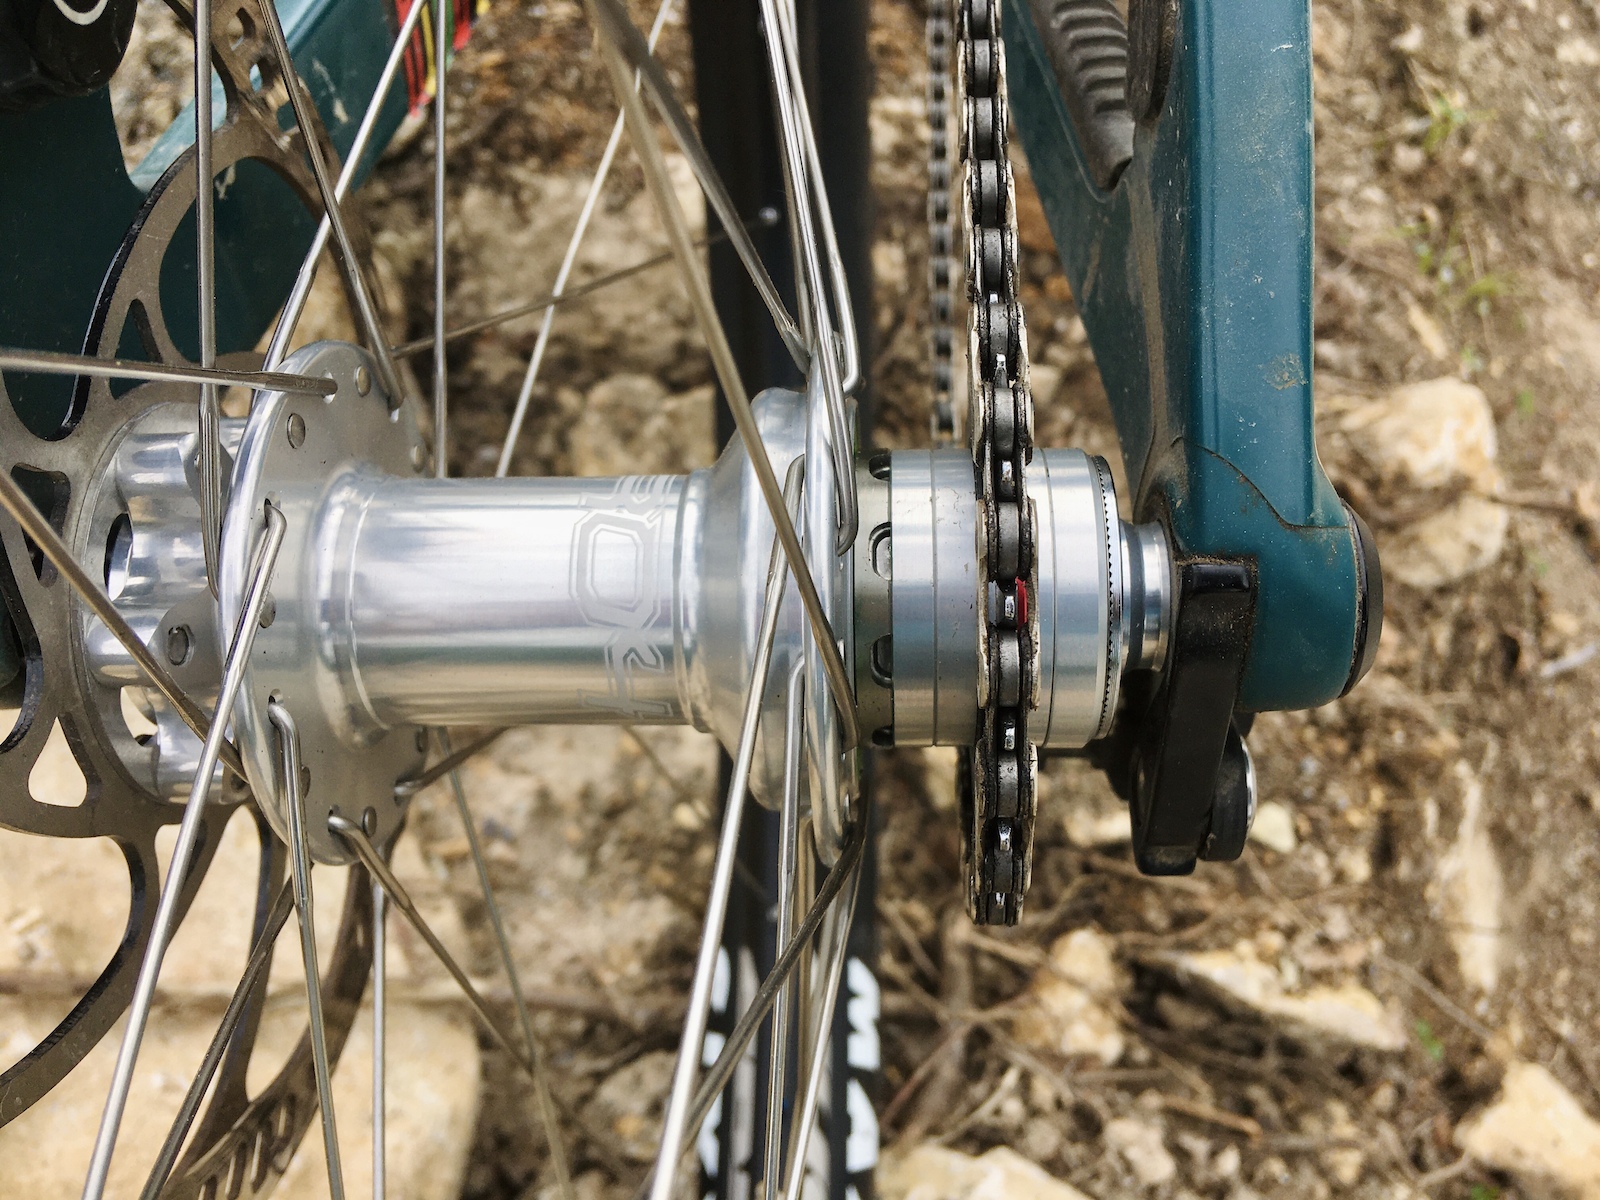
I've also built a second wheelset using silver Hope Pro4 hubs, singlespeed rear and Spank Oozy Trail 295 rims. Came out quite heavy in the end at 1,990g for the set, but you cannot have everything. These wheels should be sturdy enough, they are noticably stiffer than the Mavic wheels and they look nice.

p6pb26653648.jpg


p6pb26653653.jpg


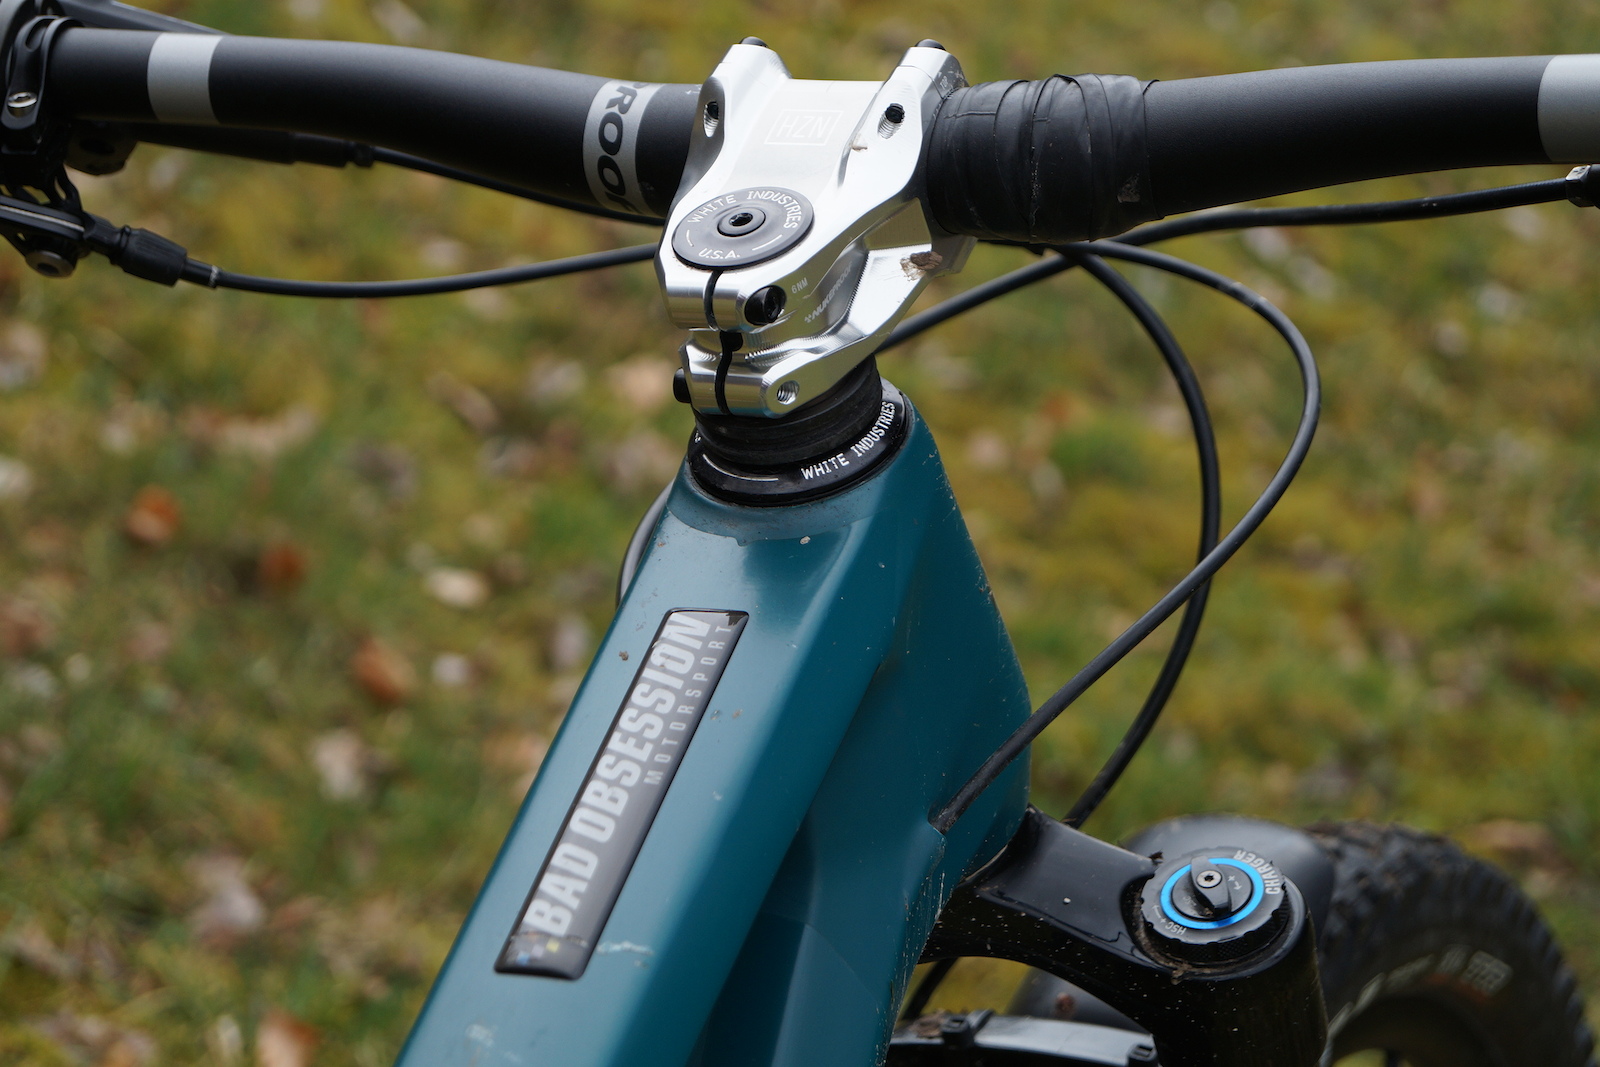
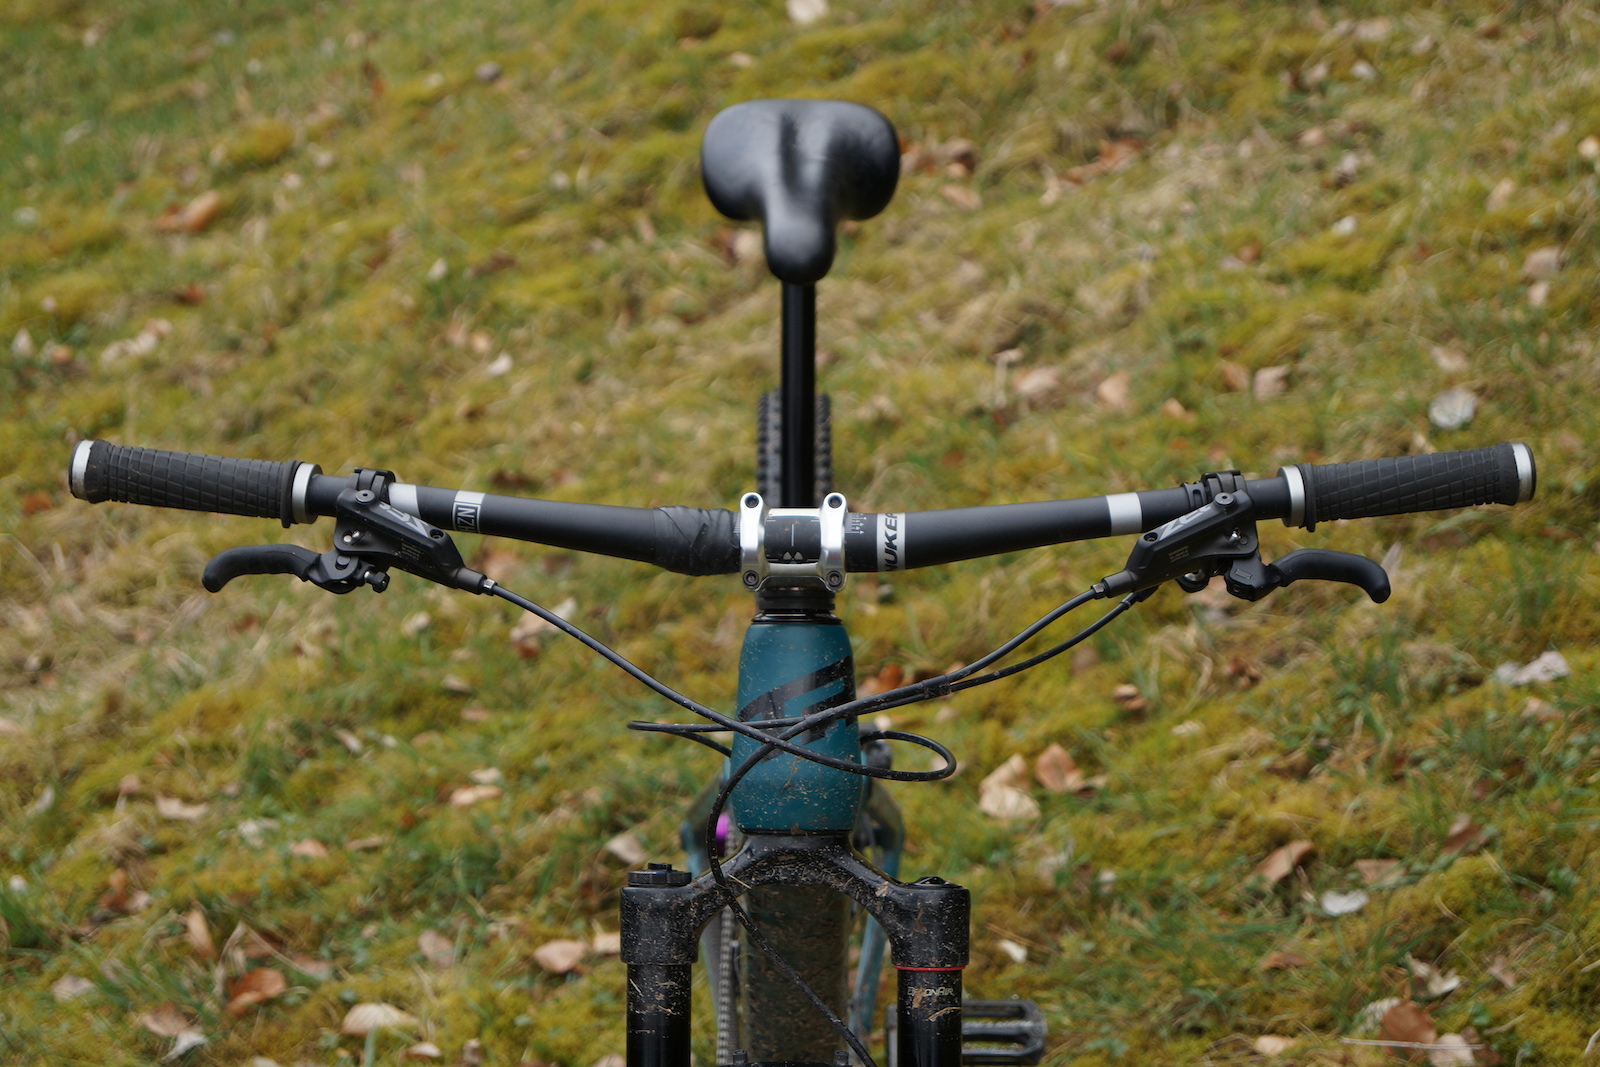
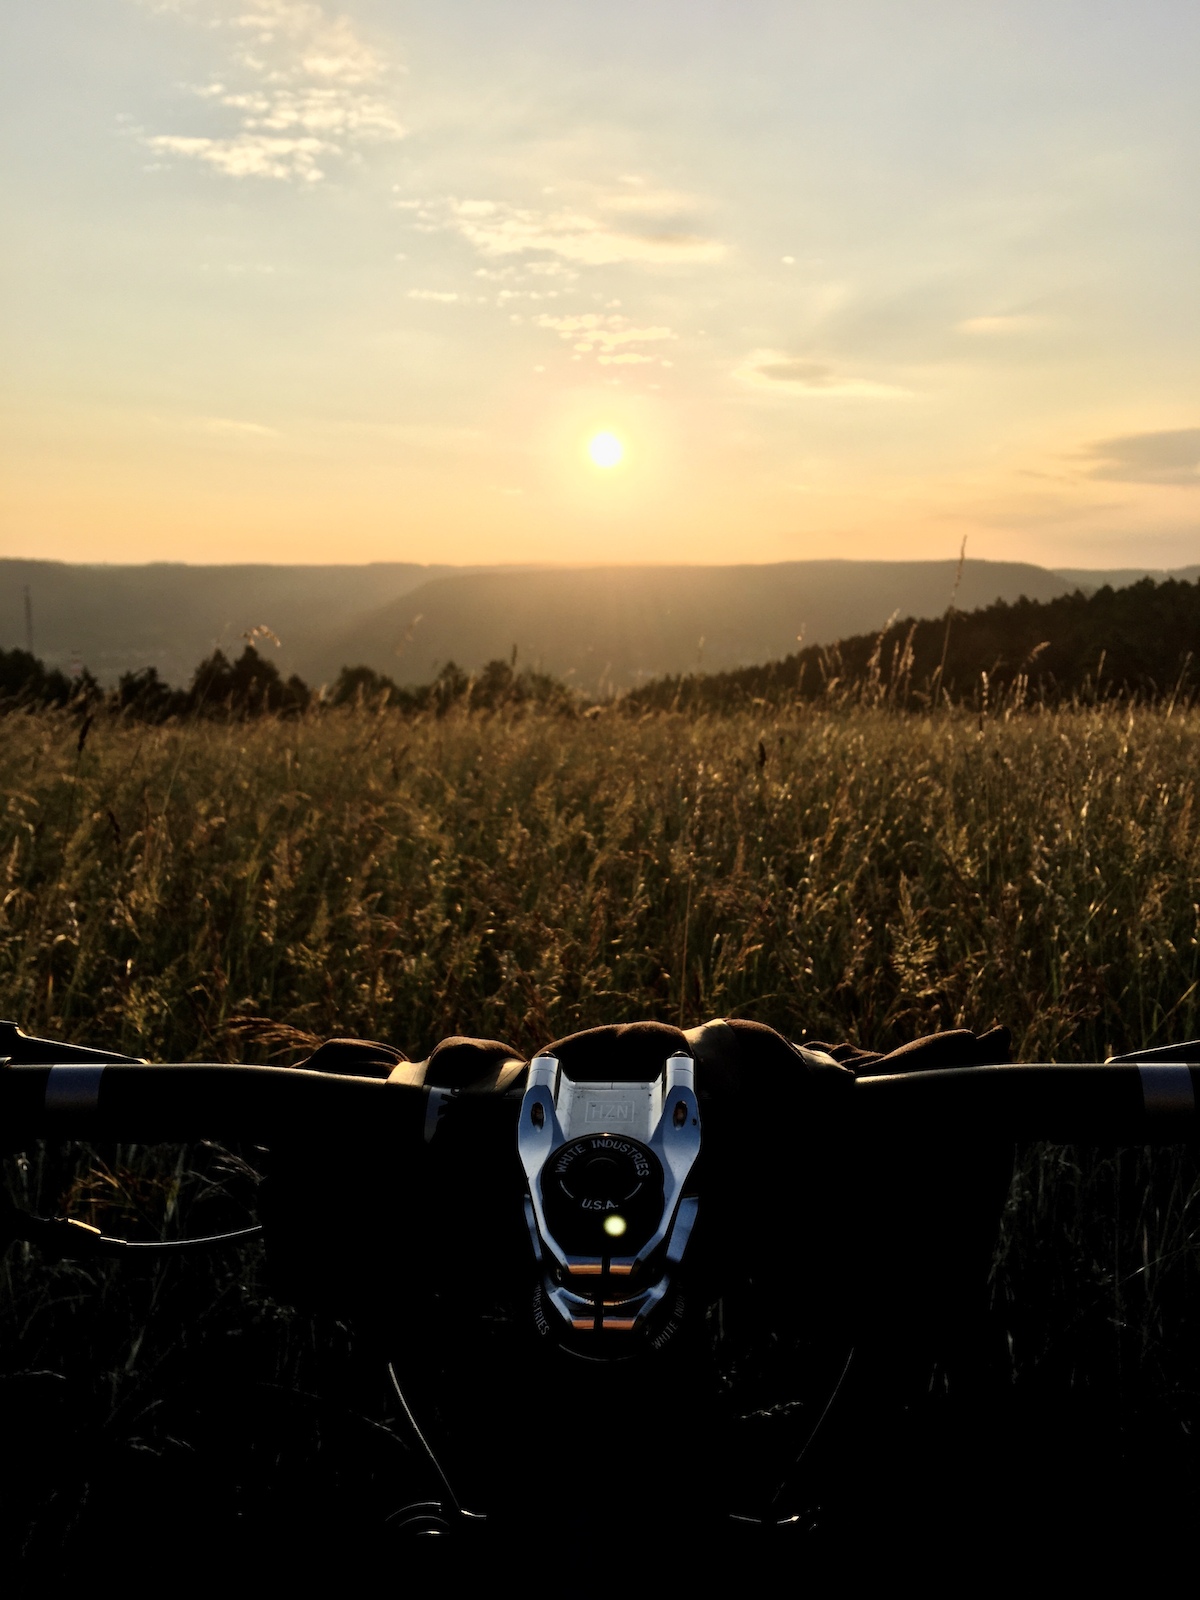
Stem and bars were changed for Nukeproof Horizon parts. I do like these a lot.
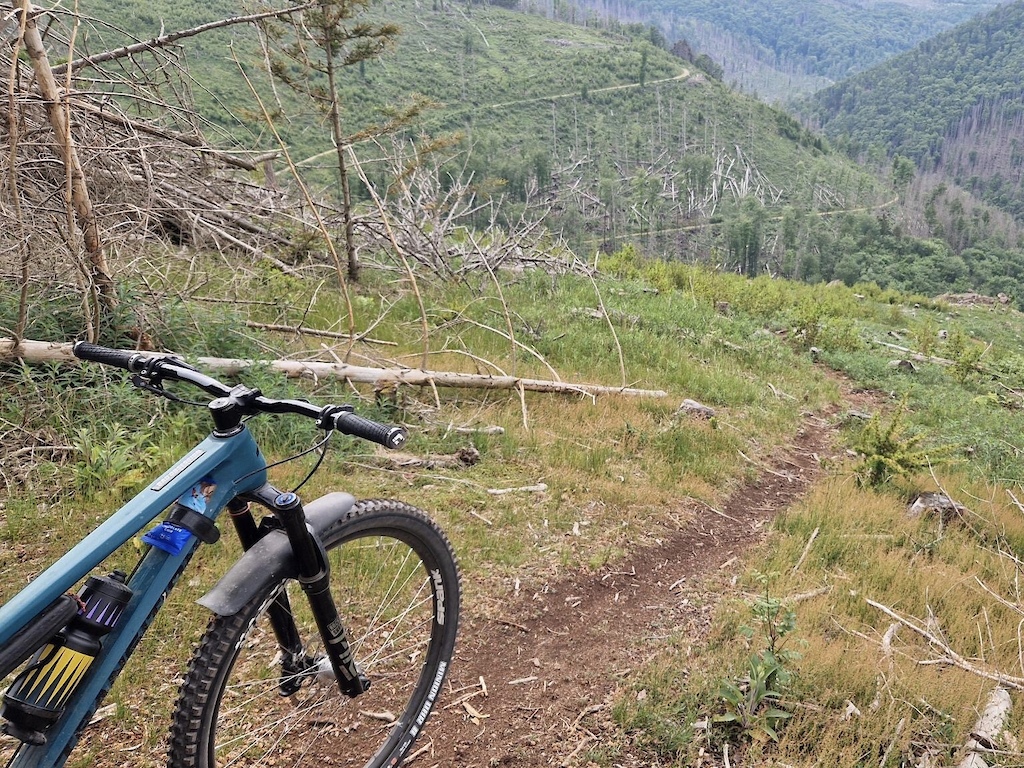
So this photo ticks many boxes for me:

p6pb26853429.jpg


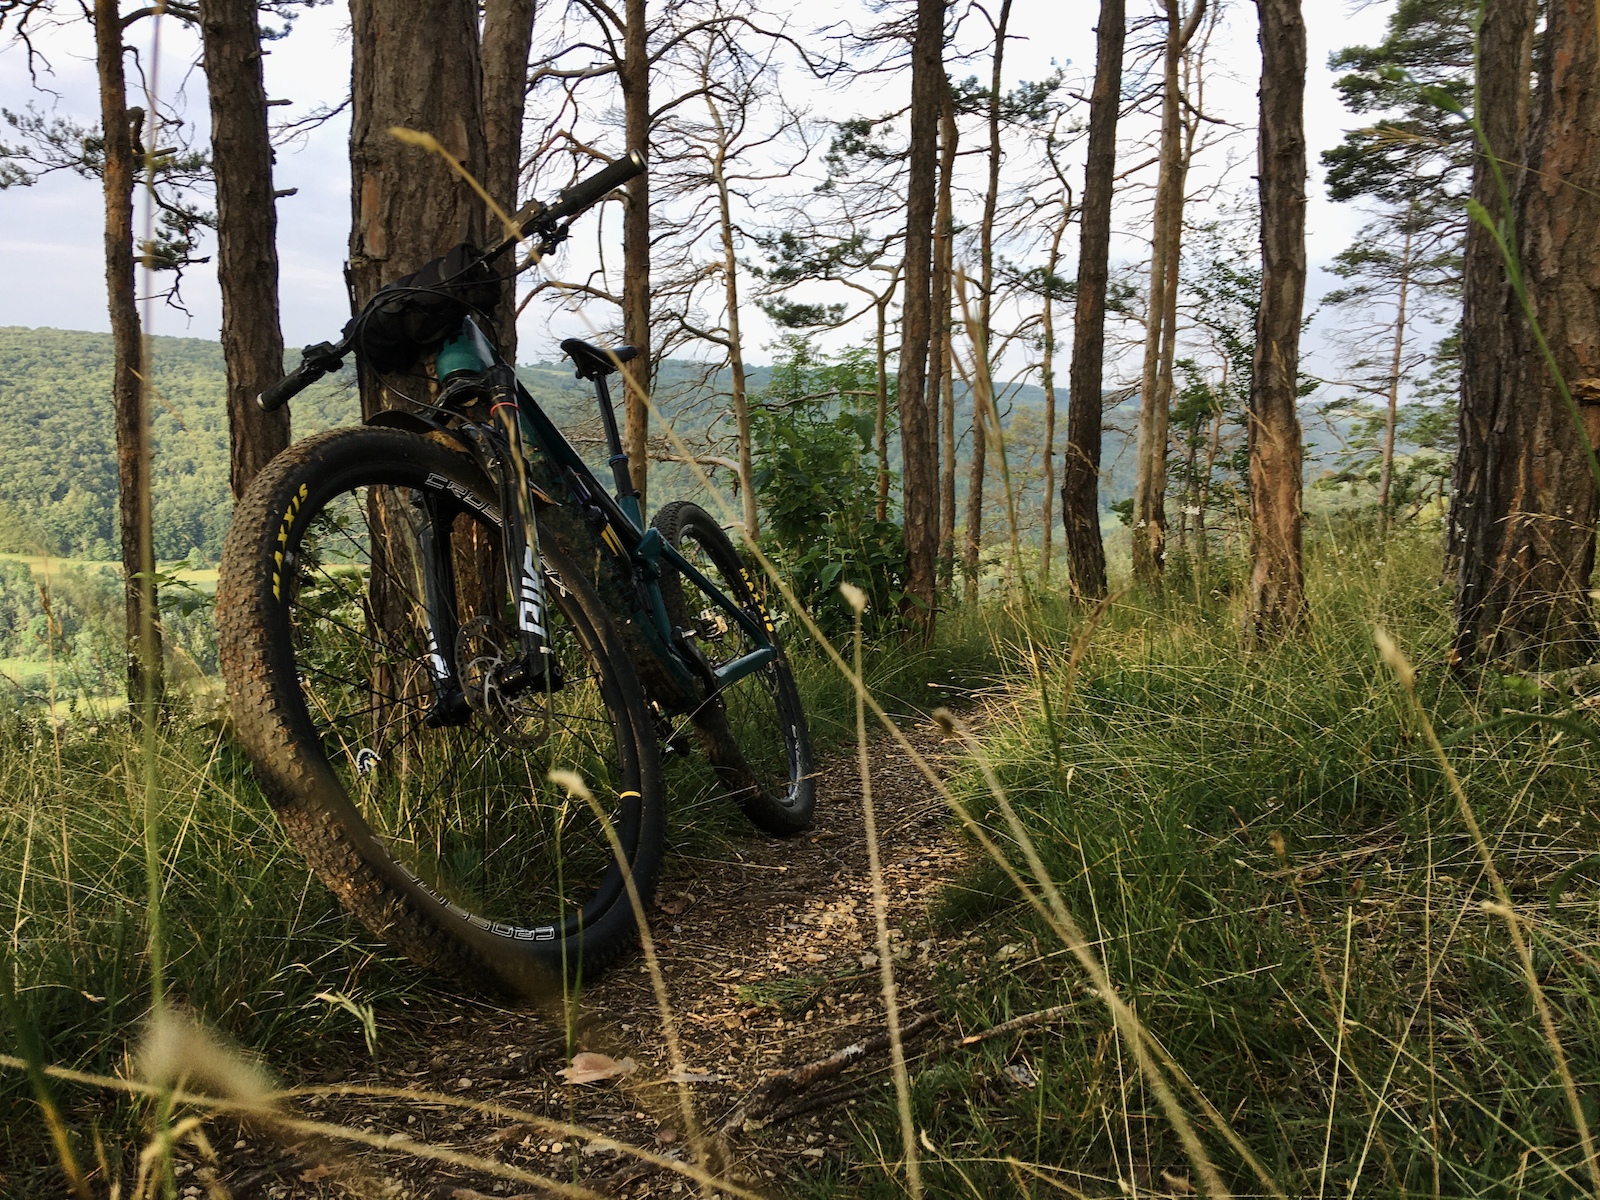
This really is one properly good mountainbike. For light trail use I'll keep the Mavic wheels wrapped in Maxxis Rekon Race tyres.

p6pb26853436.jpg
 

Latest posts

Back
Top